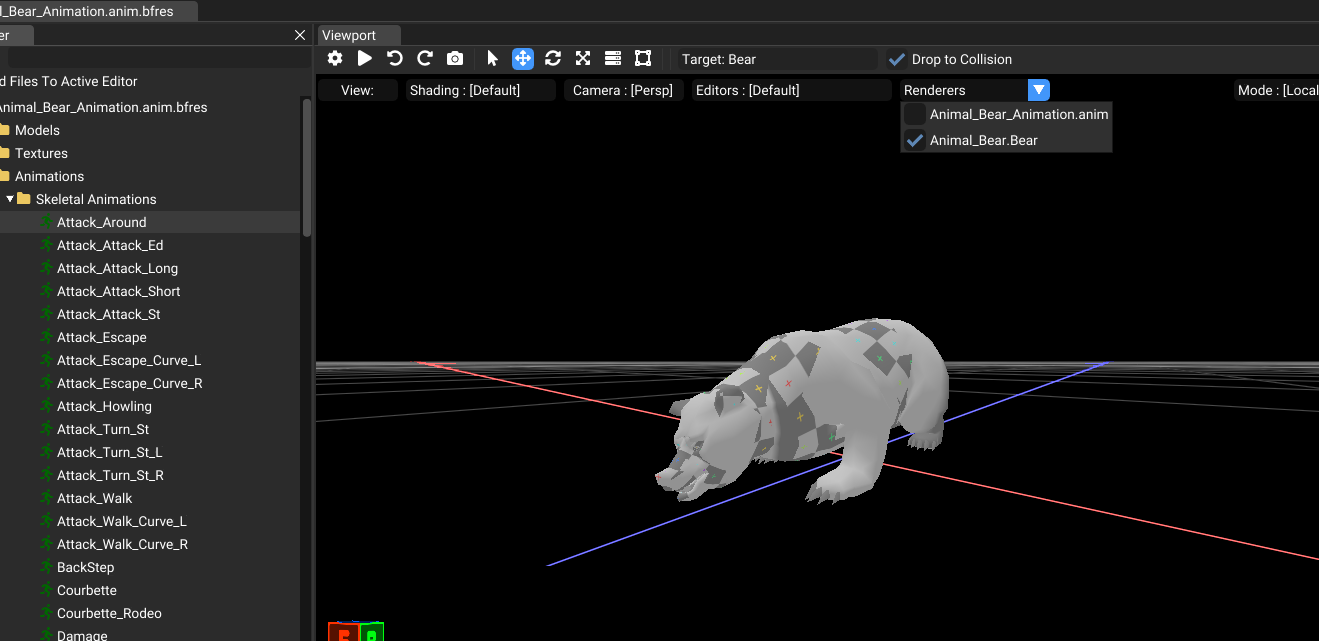
Skeletal Animation
This kind of animation moves bones around for transforming model vertices.
Tip:
If the animation is external, you can toggle the model render from the render dropdown.
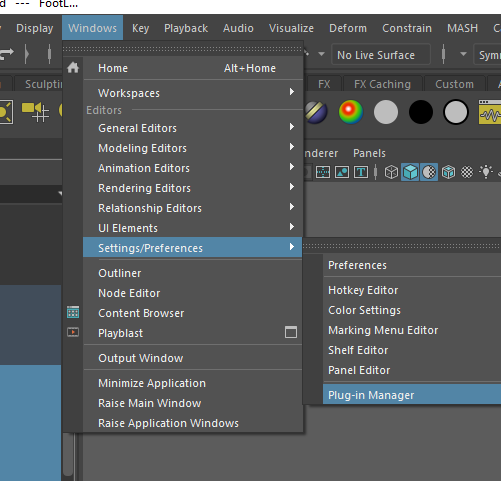
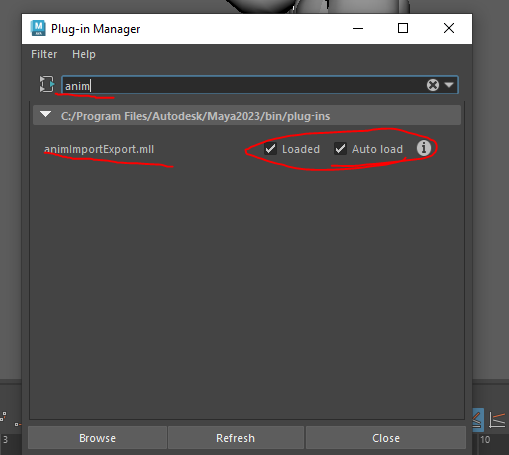
Custom animation (Maya 2015 - 2024)
Inital setup
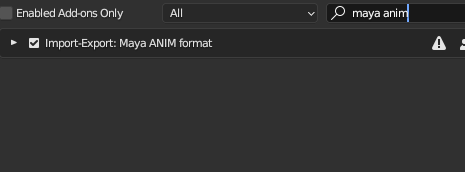
Inside maya, make sure the .anim plugin is enabled.
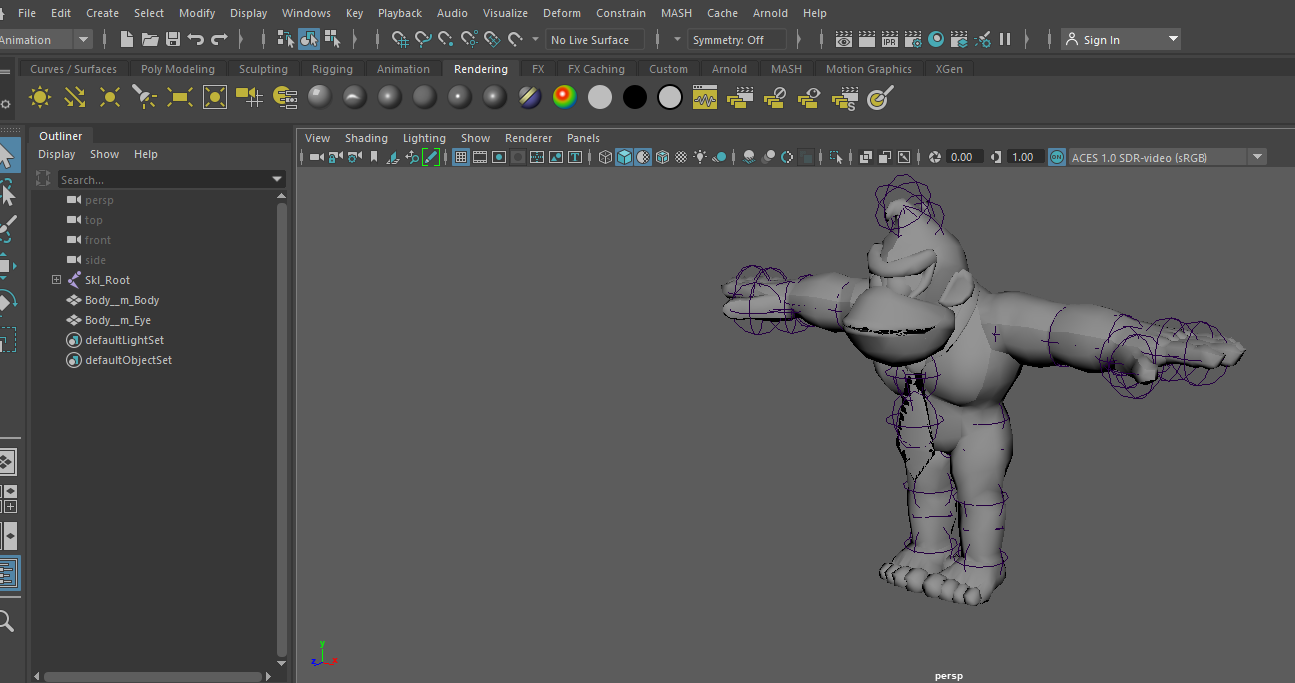
Preparing the model
Now for doing custom animations, you will need to export the model you want to animate from the tool as .dae.
Then simply import the .dae to maya with File - Import with DAE_FBX filter or All Files.
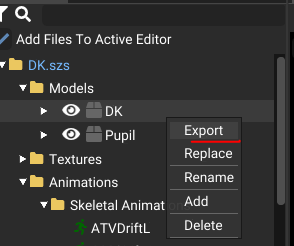
If you want to import an .anim from the tool, select all bones by holding shift and click.

Then import the .anim.
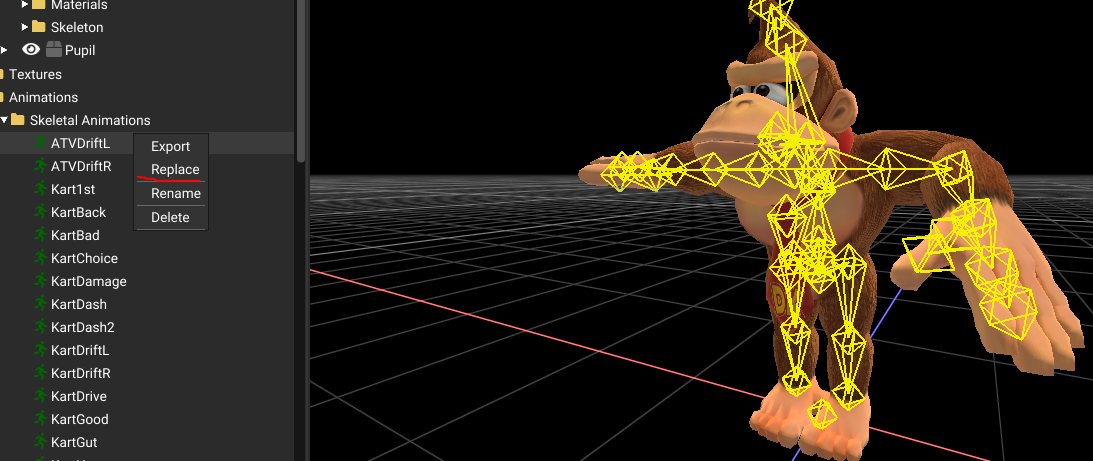
Exporting/replacing the animation
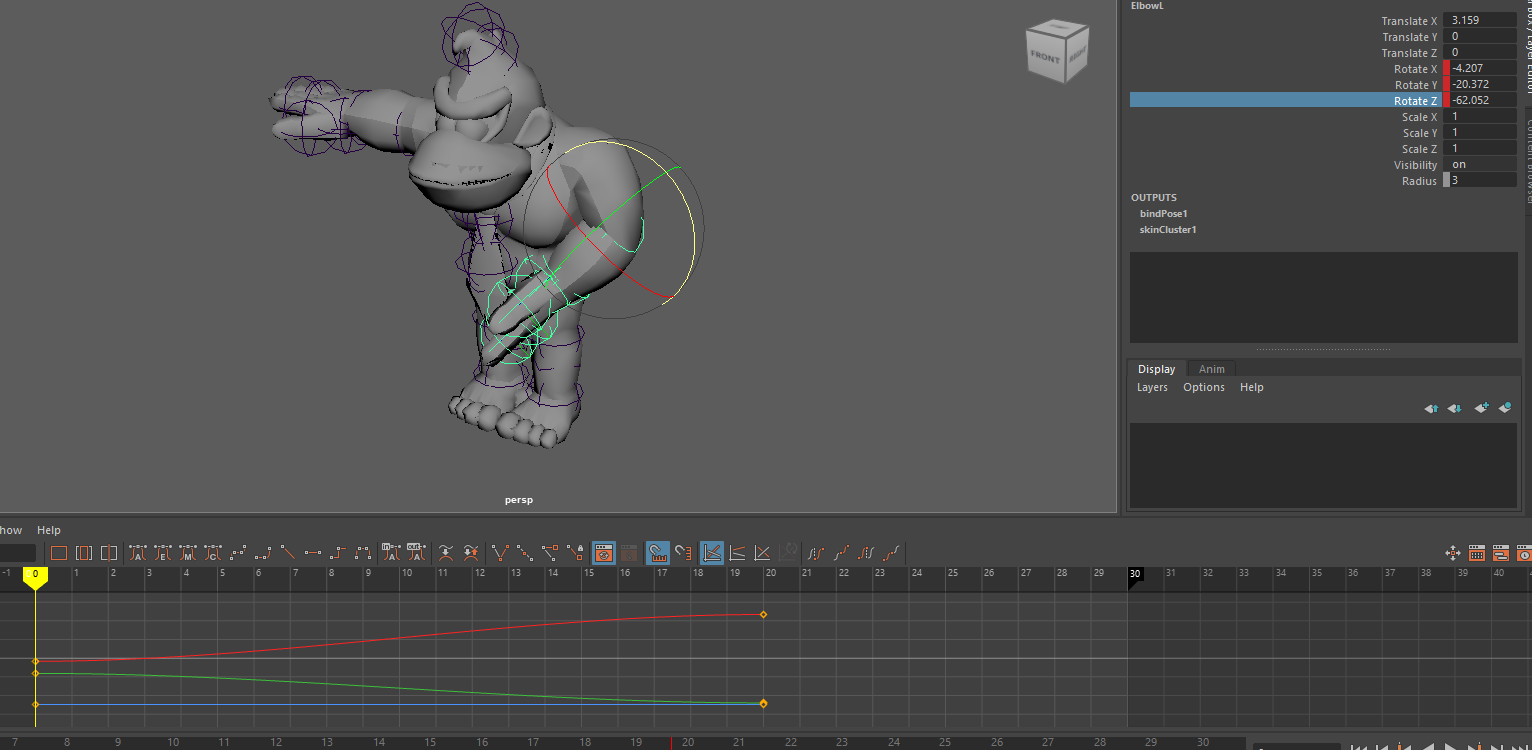
Create desired animation, then select all the edited bones and export.

Replace animation, then you are done!
Custom animation (Blender 3.0 - 3.6)
Inital setup
You will need this plugin https://github.com/PositionWizard/Blender_io-scene-ANIM/releases
Get the .zip and install the plugin from Edit -> Preferences

Make sure it is enabled and present. As of this guide, I use blender 3.6.
Preparing the model
First, you will need to export the model you want to animate from the tool as .dae.
Next you need to convert the .dae to .fbx with this tool.
https://www.autodesk.com/developer-network/platform-technologies/fbx-converter-archives
Get the .fbx and import into blender with file -> import.

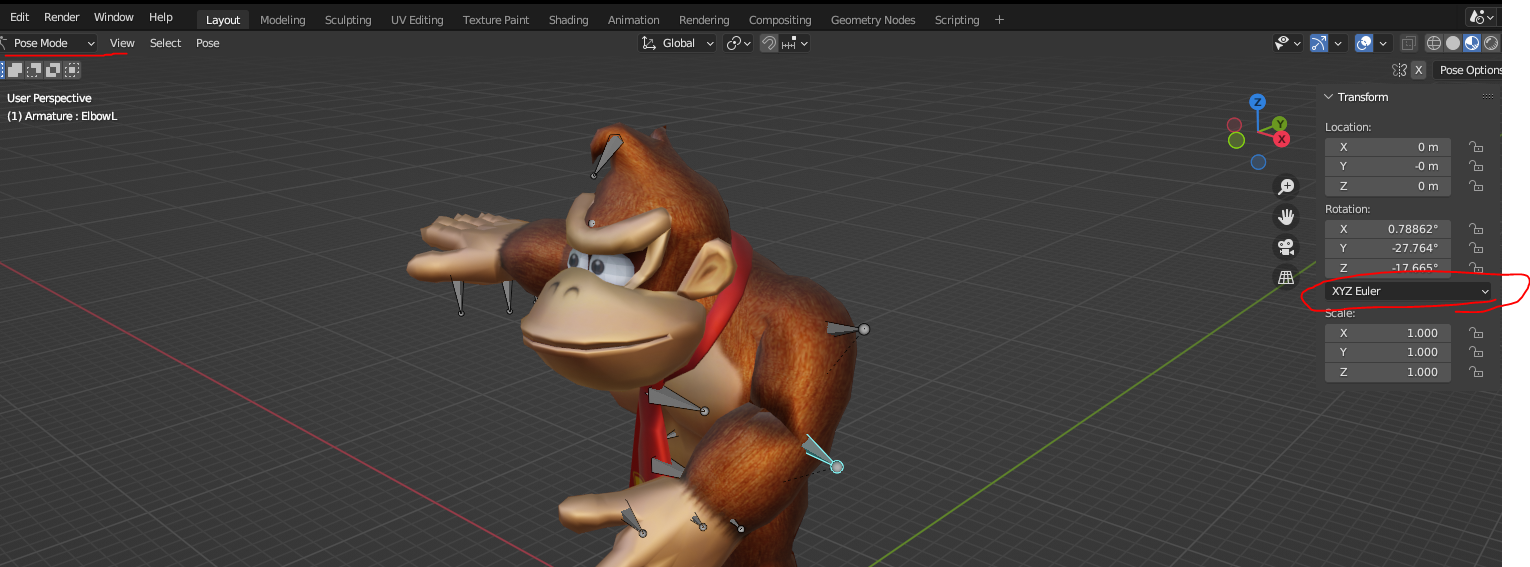
Go into pose mode to edit the bones. Make sure you use XYZ Euler for rotation.
Exporting/replacing the animation (Blender 3.0 - 3.6)
After you edited the animation, I suggest File - Save before exporting.
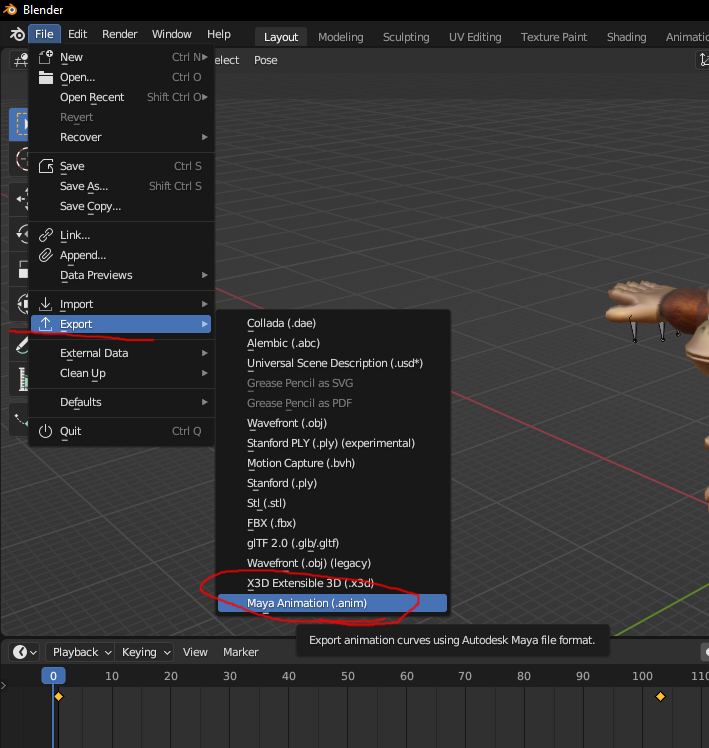
To export, go to File -> Export -> Maya Animation
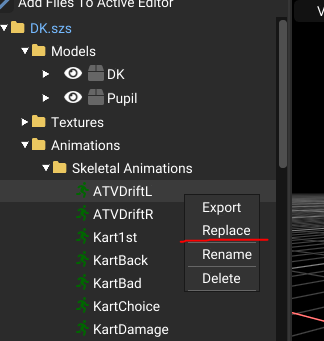
Lastly select your animation you want to replace and select the anim file that was exported.
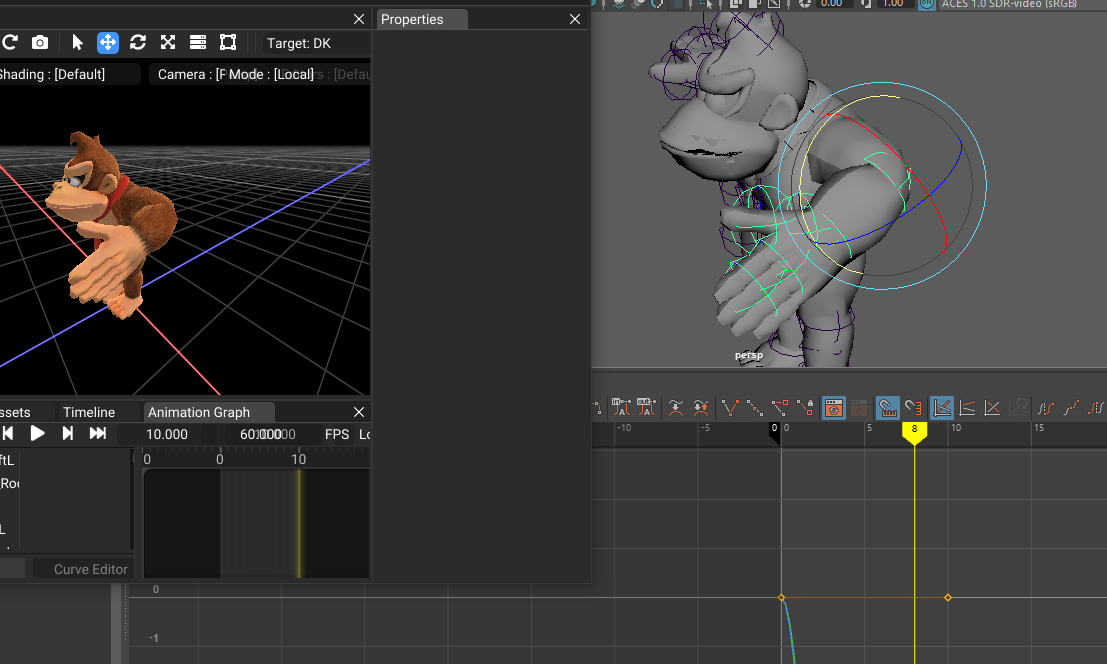
Creating a new animation
Go to the tree. Right click on the animations folder and create your animation.
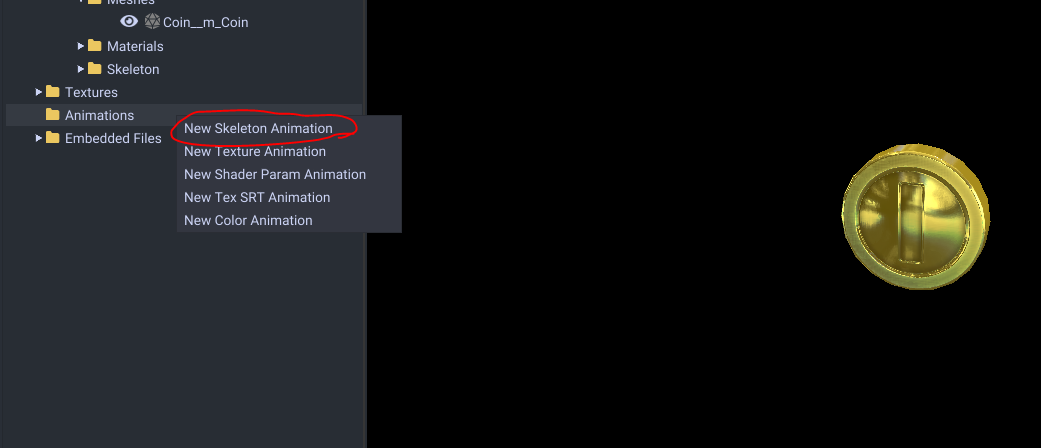
Now select it. It will appear in the animation graph window we will use to edit it.

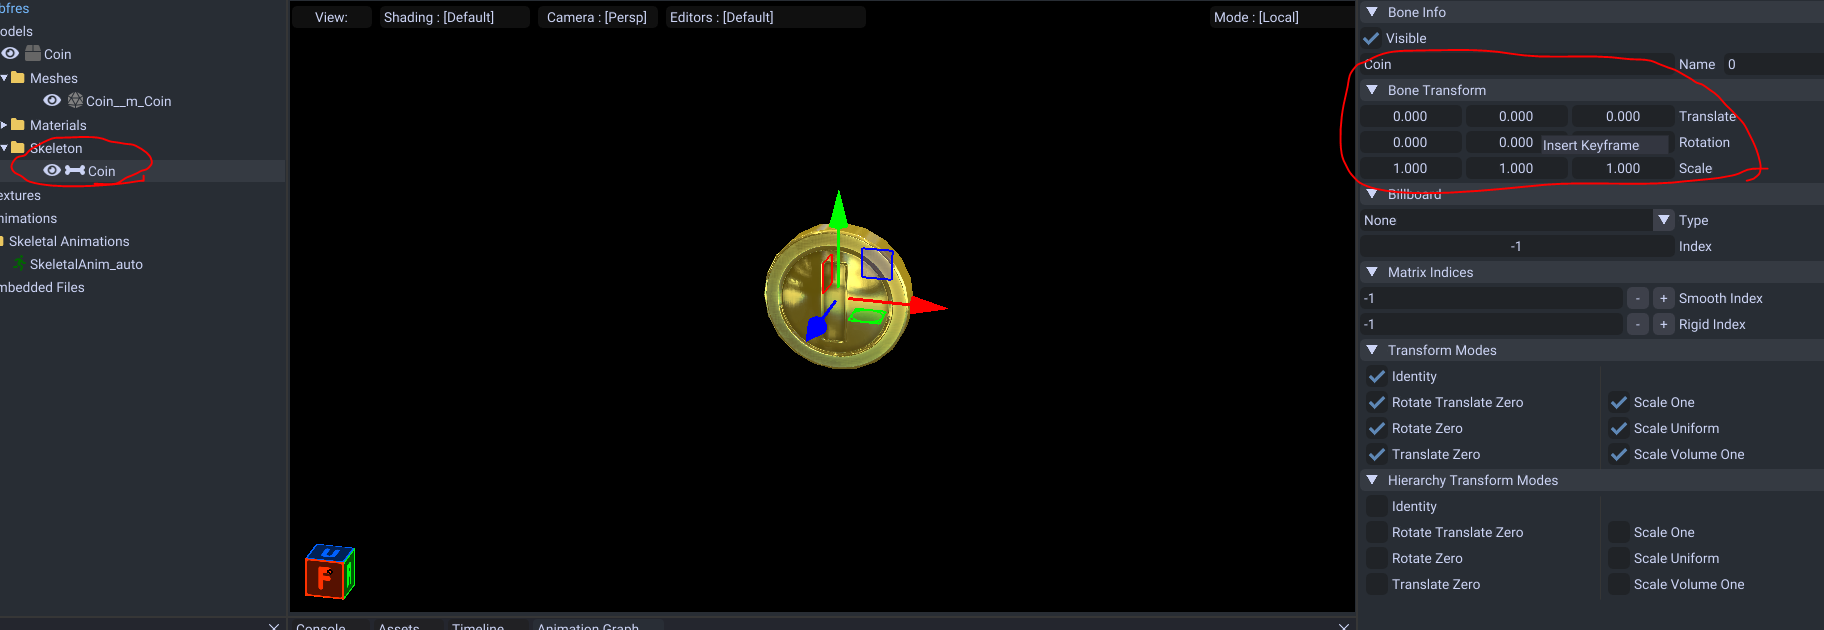
Now to start on editing.
In the tree select the bone you want to animate. Right click the position, rotation or scale then Insert Keyframe. This will insert the current position, rotation or scale to the animation.
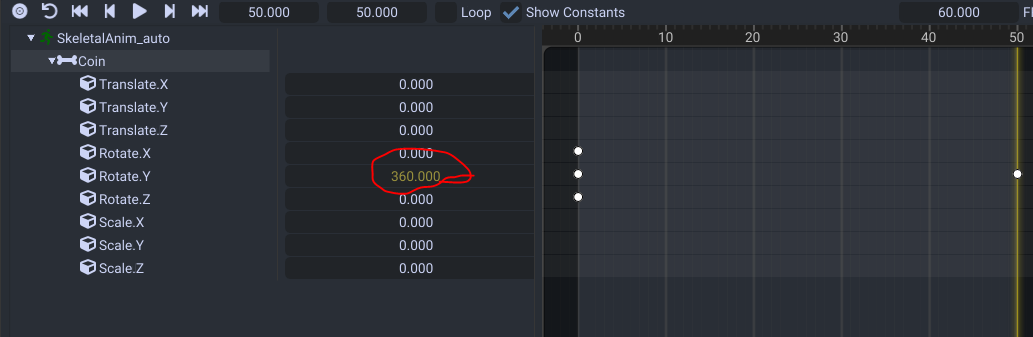
Now increase the frame count. We will make it set to 50.
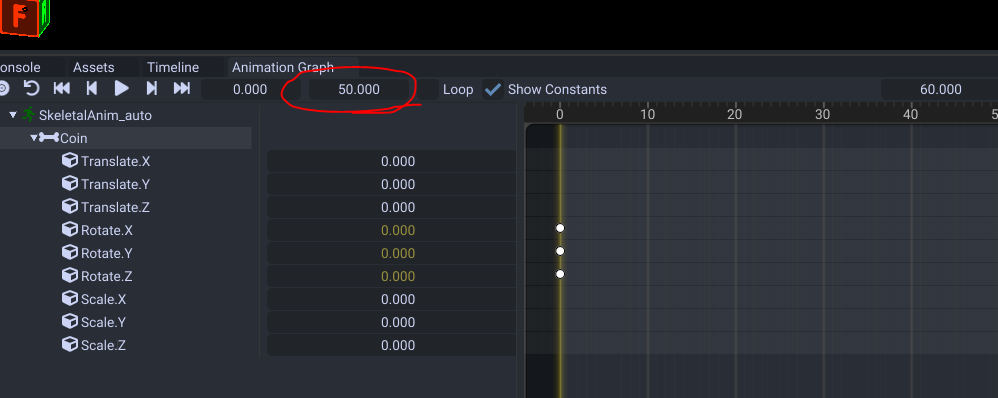
Move the timeline cursor by holding down right click with your mouse. Alternatively you can hold down left click on the top where the frame bar is at.
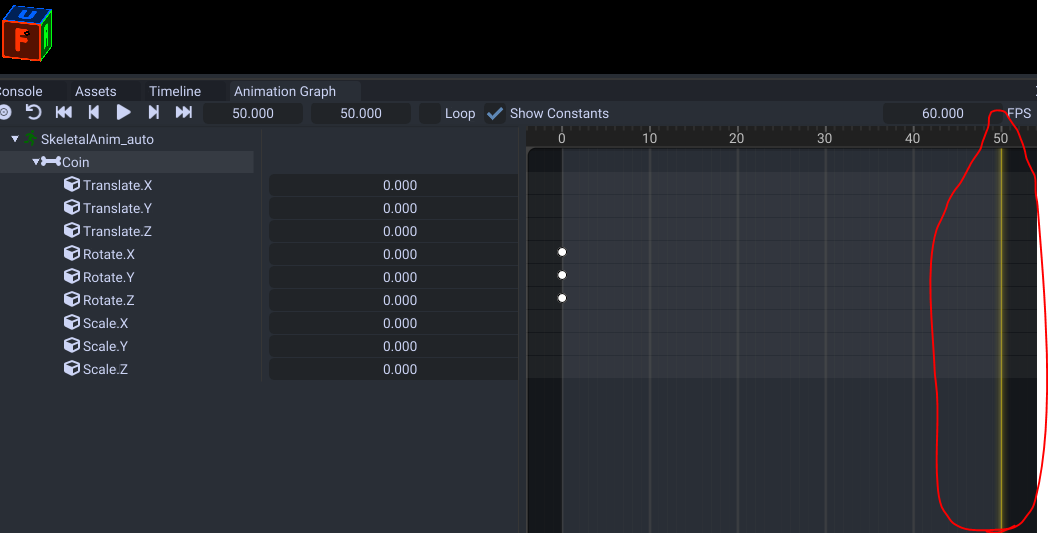
Edit the values you want to animate. I will make the rotation 360 degrees on the Y axis so it spins.
Preview