Track Tutorial
Video Tutorial
Coming soon
Getting Started
Requirements:
- A 3D program like blender, 3ds max, maya, etc for making models.
- An image software for making and editing textures like paint dot net, gimp, photoshop, etc.
- This software (Track Studio)
- Switch Toolbox (optional but may be needed for additional edits)
Installing Track Studio
Installing the tool requires net 5.0. so make sure that is installed.
Then you can extract the .zip from the releases then run the .exe.
For other platforms you can run in the cmd dotnet MapStudio.dll
Preparing Track
You want to decide what track to create. It can be a port of an existing track or you can make one from scatch. There isn't a particular poly limit but anything under 300k polys should be fine.
The requirements for your model is that you scale it to match a MK8 course before you import it in game.
This tutorial will use the start grid model which you can download here.

Scale your map model so the road fits with this object. The grid represents where each player will spawn. Once you scale it you can optionally keep it so you can view the markers for where players would go.
Save your scene as a .blend, .max, or whatever program you are using so you can load it back later. You may want to update the model for things like baked shadows, lighting later on.
Next you want to export your model as either .dae or .fbx. This will be used for importing into the tool.
Creating a New Track
Model Importing
Open Track Studio and go to File - New - Custom Track

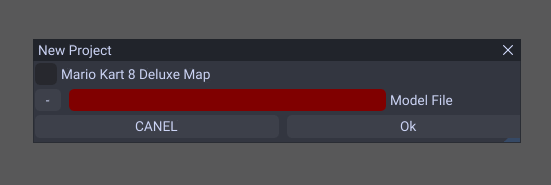
You want to check Mario Kart 8 Deluxe Map if you are making one for the Switch version, else it is for Wii U.
Select your exported .dae/.fbx model in the Model File selector.
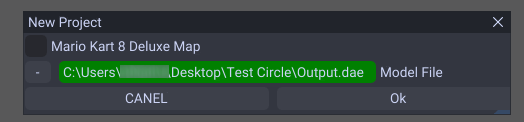
Now click Ok.
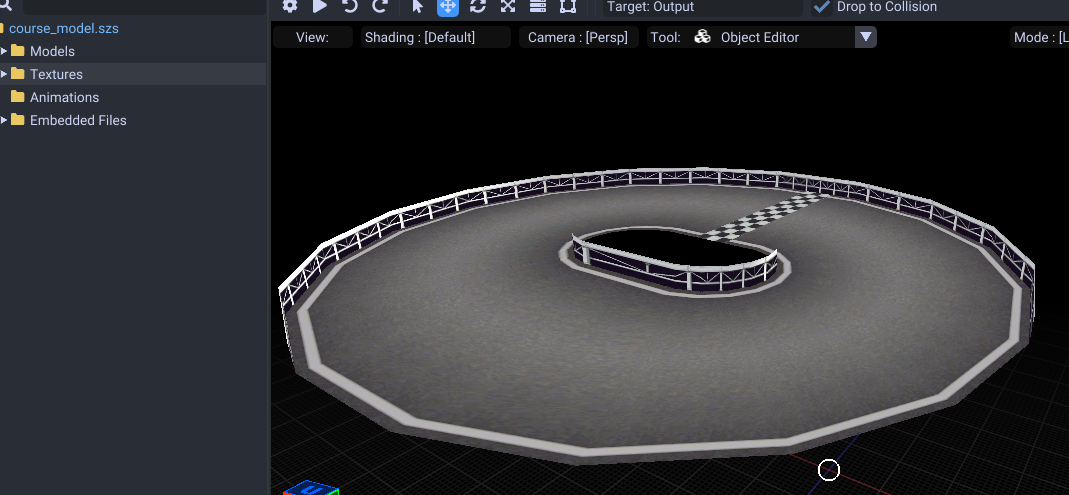
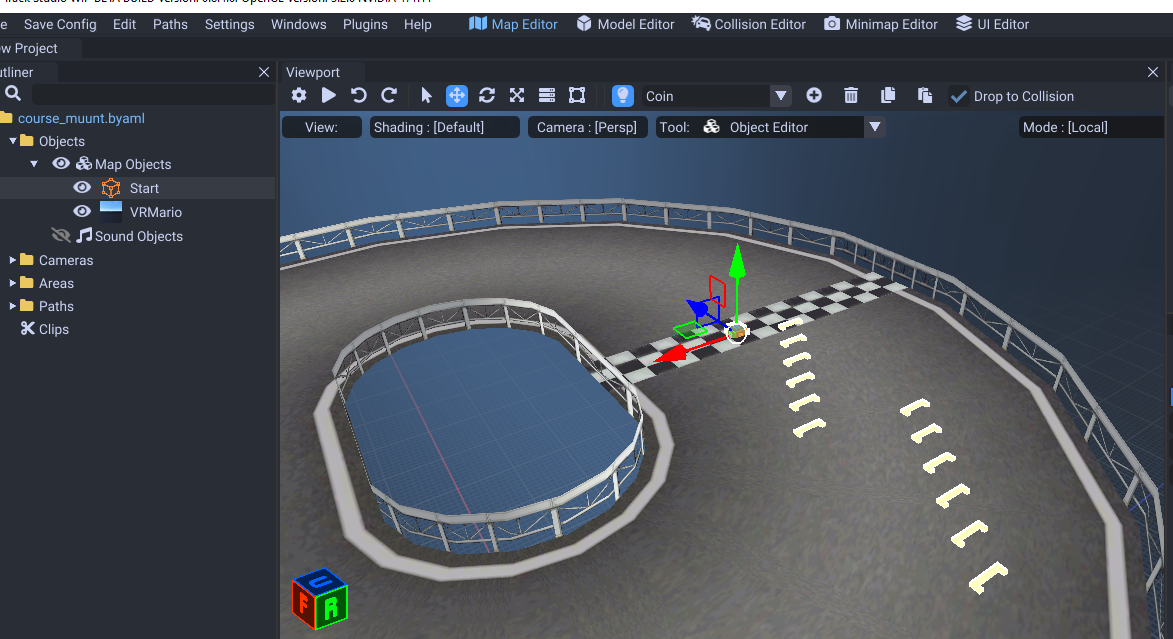
Your model will now be imported.
You can move the camera with WASD and spacebar to move up, shift + spacebar to move down.
Once you have your model imported, now we need to do textures.
Texture Importing
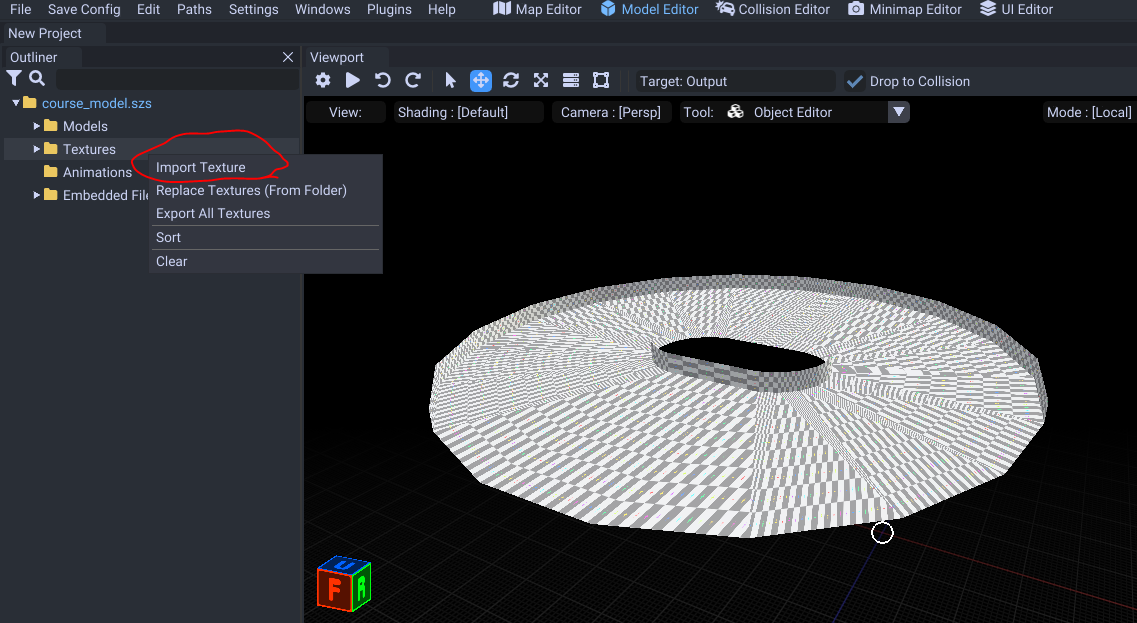
Right click on the Textures folder then click Import Texture. Select all the textures you need to import for your map.

Set the formats as such:
- Diffuse Map : BC1 SRGB or BC3 SRGB for translucent
- Normal Map : BC1 Unorm
- Specular Map : BC4 Unorm (unless you want color which requires BC3 Unorm)
- Light Map - BC3 Unorm
- Shadow Map - BC1 Unorm
If you have a shadow or light map you should make the mip count 1.
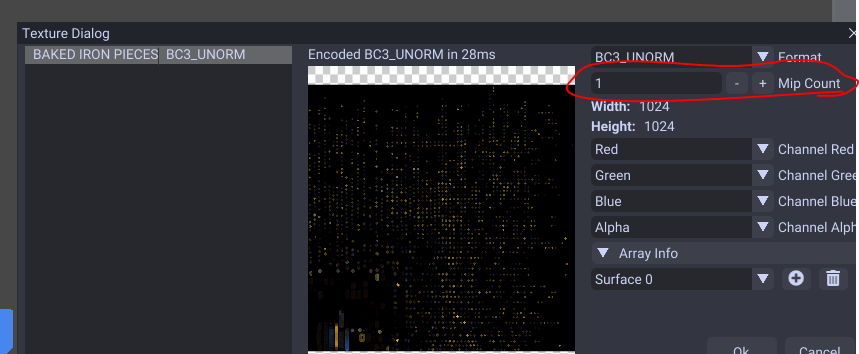
When that is selected you can click Ok.
All that is left is to do materials to finish the model!
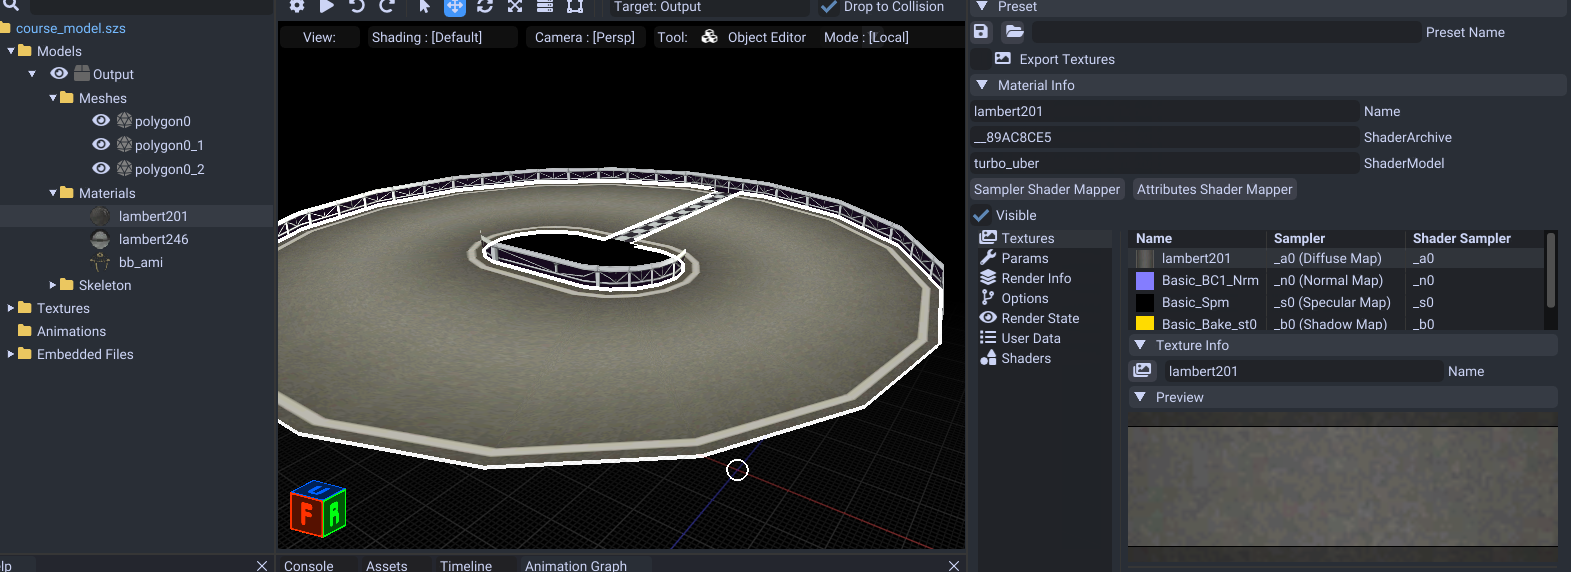
Materials
To edit a material, either select the mesh in the viewer or select the material in the tree.
For a detailed guide at editing these, please refer to this section.
Finalizing Model
File - Save or CTRL + S while in the model editor tab to save your model.
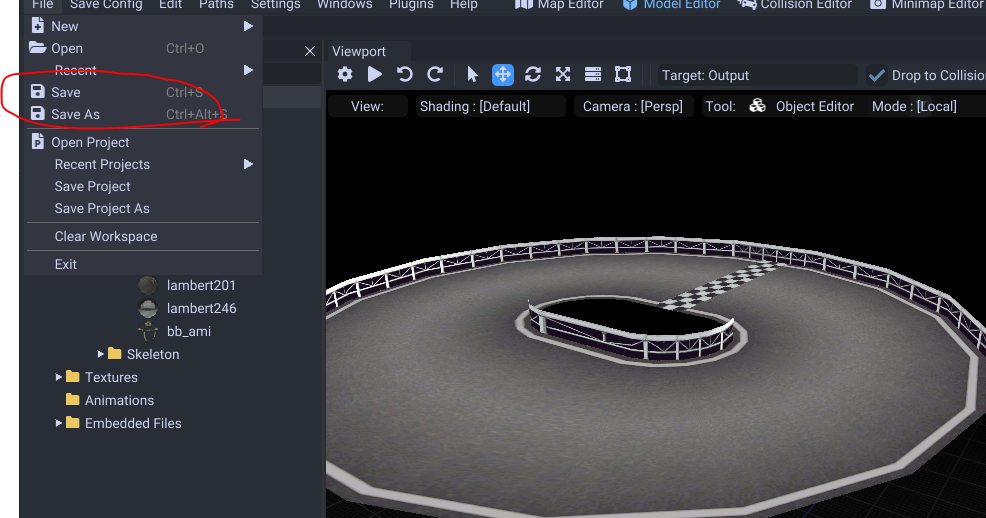
Save it to a new folder. We will store all the course contents in this folder.
Next we will cover collision editing. It is suggested you continue to this step as collision is super useful for the map editor later.
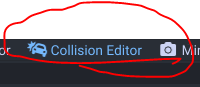
Collision Editing
You can edit collision in the Collision Editor tab.
For a detailed guide at editing these, please refer to this section.
When finished make sure you File - Save the collision (or CTRL + S).
Map Editing
You can edit map object/paths/cameras in the Map Editor tab.
Here we will place our starting point at so players will spawn there.
If you did the collision from earlier, you can snap these directly onto the model.

If you need to place it in a more precise way, you can edit in the properties window.
Now for your map to be functional, you need atleast Lap Paths and Enemy Paths. Guides on these are below!
Objects
To place down item boxes, coins, and other objects you can follow this guide here.
Lap Paths
Lap paths control the boundaries of the map, where to respawn the player, and keeps track of player's place in the lap which you can follow here.
AI Movement
Enemy paths that control AI movement which you can follow here.
Item Shell Movement
Item paths that can control the red and blue shell movements. You can follow here. These can be mostly created from enemy paths from earlier.
Glider Paths
If you need to add a glider, you can follow here.
Anti Gravity
Then lastly if you are doing an anti gravity track, you can follow here.
They control when to activate anti gravity, the direction of gravity, and camera angle.
Cameras
- Opening Camera guide.
- Replay Camera (optional for offline but online mode may require to add some for spectators) guide.
Lighting
You first need to make sure you have a course.bgenv file. You can copy one from any existing MK8 map in the course folder.
Open your .byaml to load the map, then follow the lighting tutorial here.
Finalizing
With those guides done you can play the map! Make sure you File - Save or CTRL + S in map editor to save you settings!
To load the map you have 2 options.
Cemu Loading
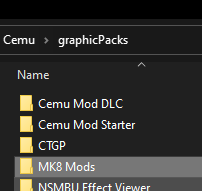
For using the Cemu emulator, you want to use graphic packs to store your mods in.
Open the graphicPacks folder in your Cemu directory.
Create a new folder and call it a name.
Next go into that folder. Create a new text file and call it rules.txt. Paste this in
[Definition]
titleIds = 000500001010ec00,000500001010ed00,000500001010eb00
name = Resolution
path = "Mario Kart 8/Mods/CustomTrackTest"
description = A MK8 mod.
version = 3
You can edit the path to whatever you like.
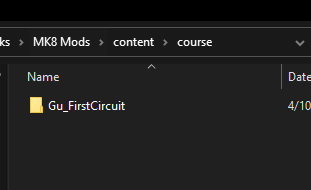
Now add a content folder.
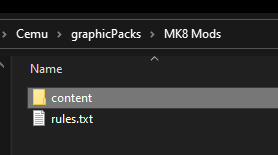
Place the game files you modify in the content folder.
Courses will go in like this.
Lastly we need to enable it to use with Cemu.
Open Cemu and load the graphic pack from Options - Graphic Packs
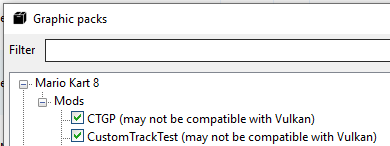
Toggle your mod. Once you boot the game, your mods will load properly!
Wii U Loading
Follow this guide here