Minimap
This editor controls both the camera placement (so players match up with the mini map) and the mini map texture.
Creation
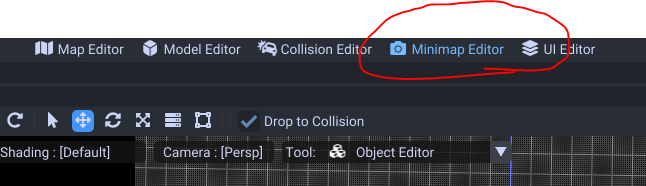
Switch to the mini map editor (make sure you have opened the map byaml)
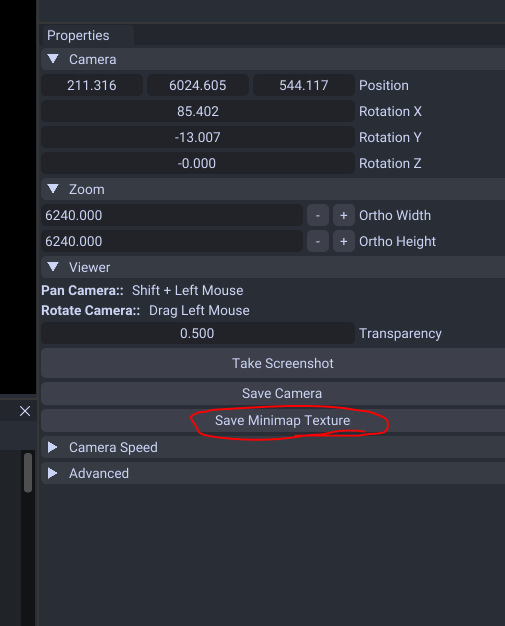
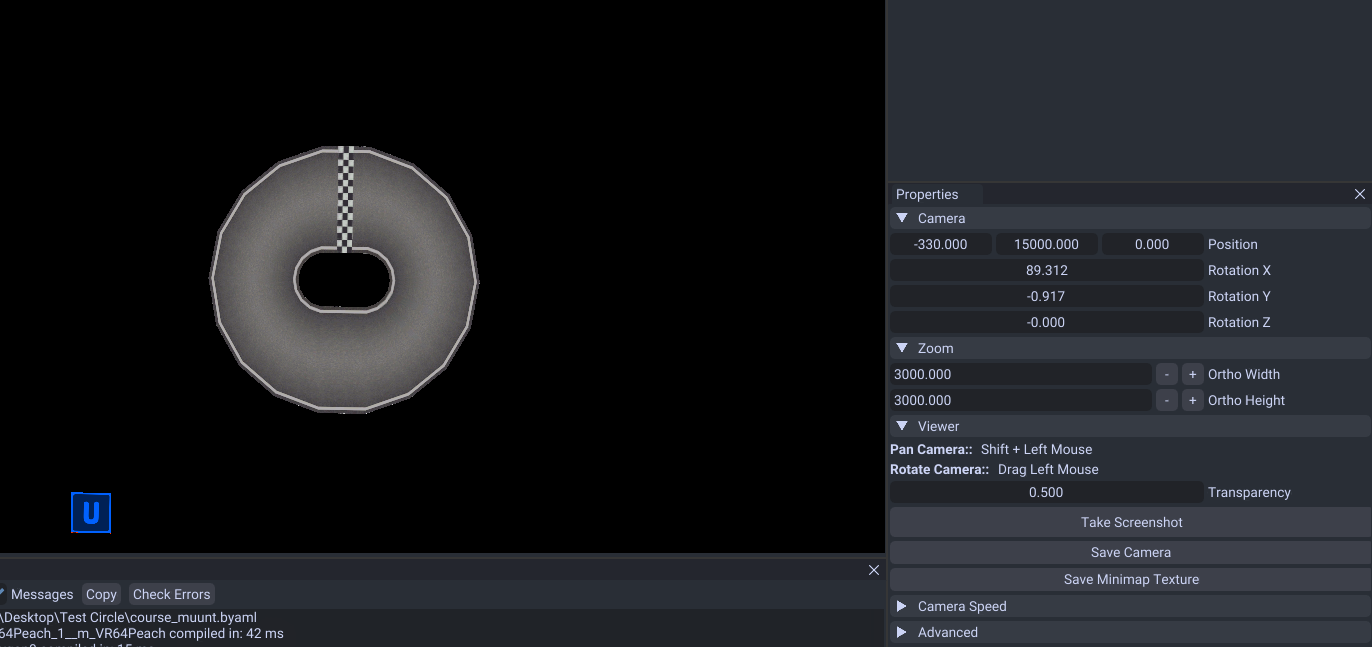
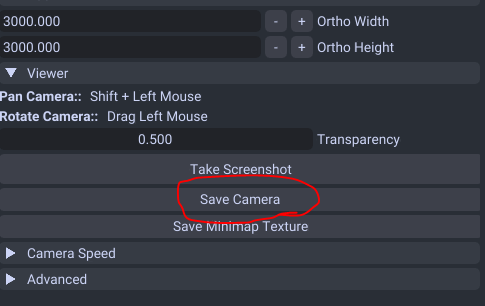
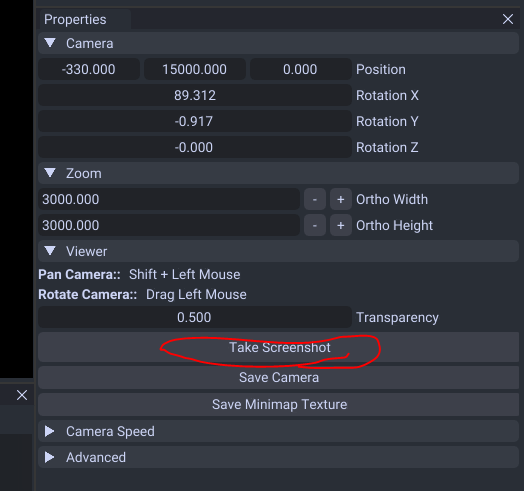
Use the UI on the left side (property window) to edit the camera values.
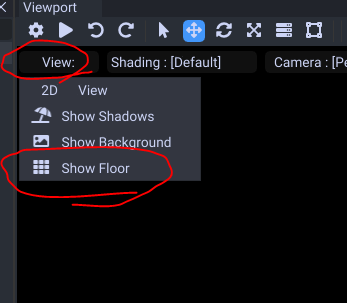
If you want to hide the floor you can do so in the view menu.
The camera should be in the same place you want the mini map to be at. When you finish the camera movement, save it.
Tips - In the model editor you can select a mesh and press H to hide them. You may want to hide parts of the model for the screenshot.
Texture Editing (Wii U Only)
This feature is only supported on Wii U atm. Switch users will have to use Switch Toolbox and replace the course_maptexture.bntx in that.
Take a screenshot then make your mini map out of that in photoshop or some image editing software.
This guide will not cover how to make them look like the originals atm so you will need figure that out on your own.
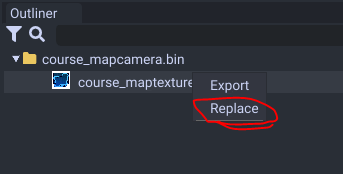
After you edited your mini map texture, right click the map texture in the tool and hit replace.
Then click on the course_mapcamera.bin again and save the texture file in the properties to your course folder.